-
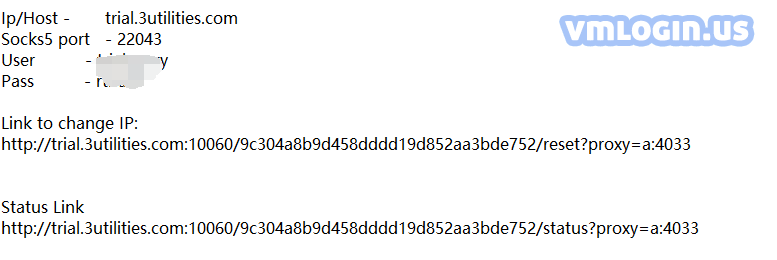
1. Log in to my4Gproxy official website (https://my4gproxy.com/), click "Pricing" to purchase a package. After the purchase is successful, the customer service will send the IP information, as shown below.
-

-
-
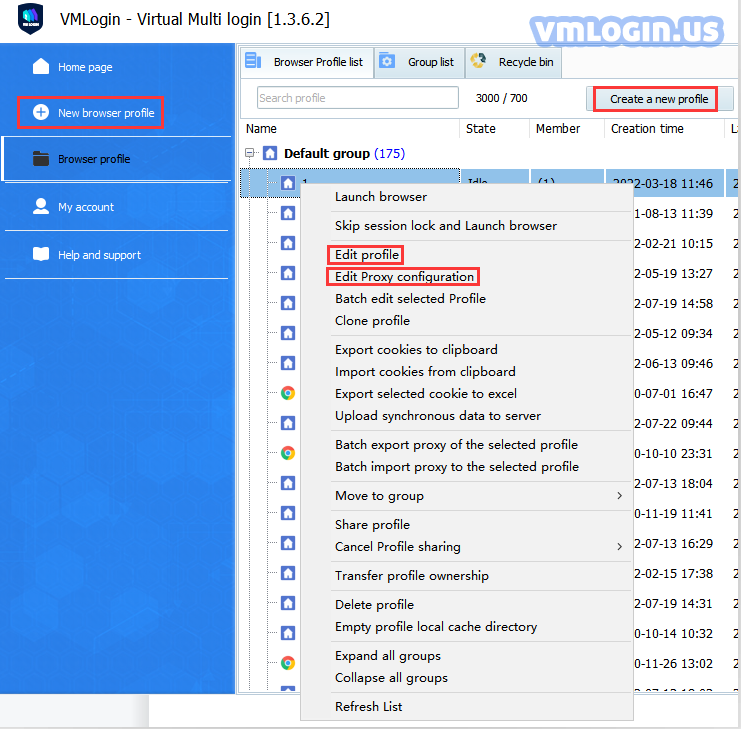
2. Open the VMLogin client
-
3. Click "New browser profile" or “Create a new profile”;
Set the proxy server or select the created profile in the "Browser profile" list, then right-click and select "Edit profile" or "Edit Proxy Configuration" to set the proxy IP; -
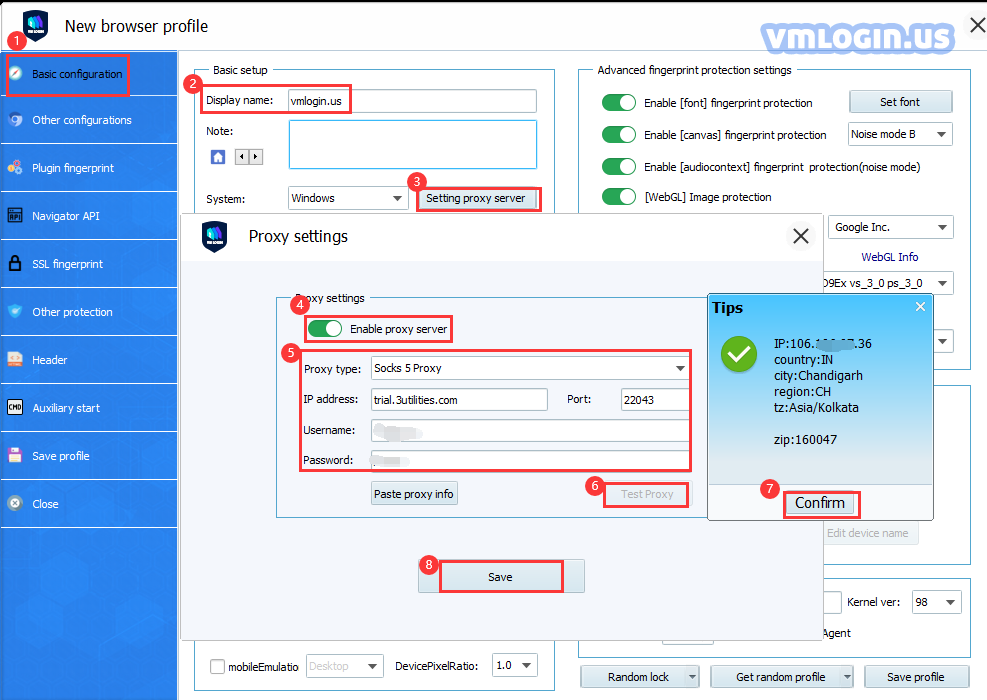
4. Open the "Enable Proxy Server" button;
-
5. Select the proxy type corresponding to the IP, such as HTTP, SOCKS5;
-
6. Select "Paste proxy information" or fill in proxy IP:port:login user:login password in sequence;
-
7. Click "Test Proxy", after the test is successful, click "Save" to save and then open the browser for use;
-
-
-
8. After filling in the IP information and saving it, open the IP Rotation Link, and the IP will be rotated every 5 minutes;
-

-
9. Open IP Status Link, it will display the current IP and the last IP.
-
