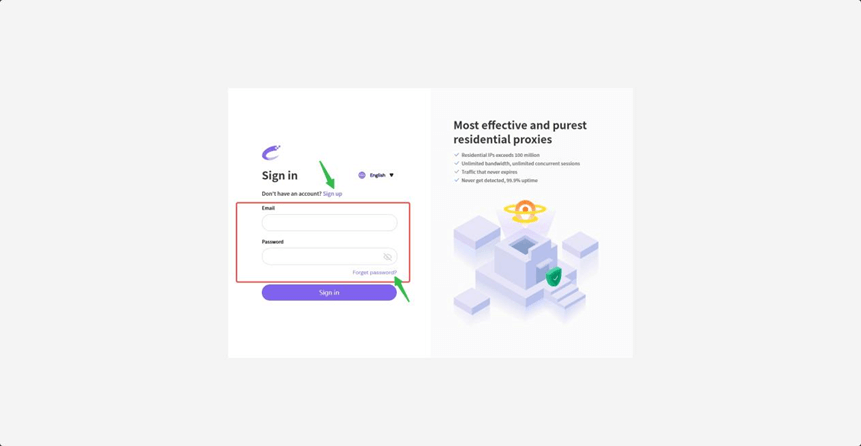
1. Log in to the Cliproxy official website. If you don’t have an account, please complete the registration process.
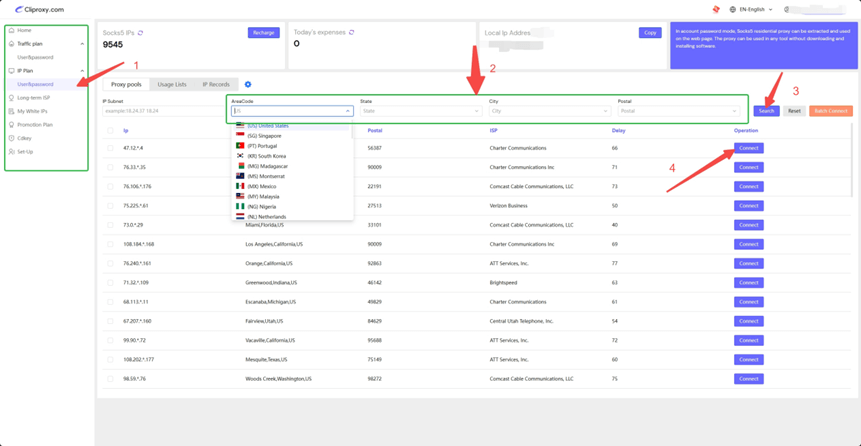
2. Please select the IP type you need to extract on the left (here is Socks5 as an example). Then select the street information of your target country and region in [Proxy Pool], click [Query] to get your target IP list, and finally select a suitable IP and click [Extract].
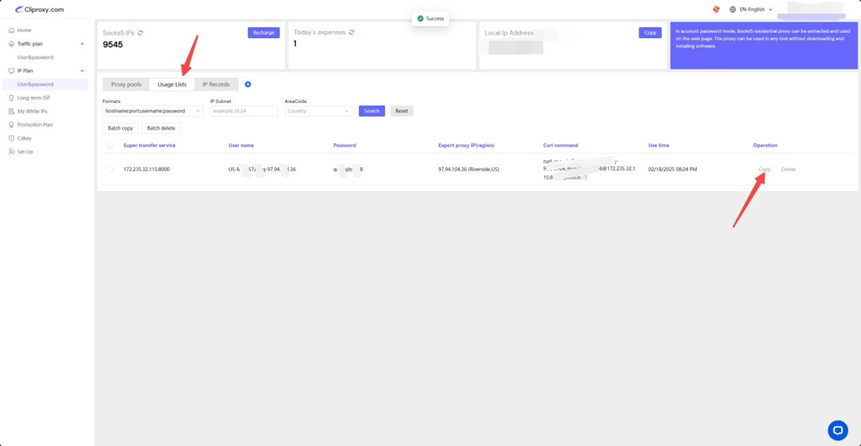
3. Click [Copy] in [Use List] to get the host, port, account, and password information of this IP.
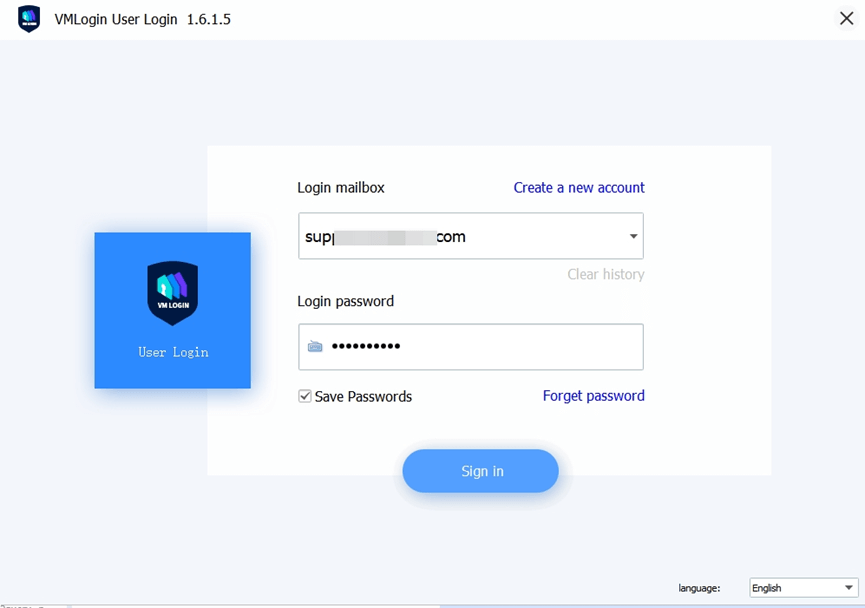
4. Log in to VMLogin Antidetect Browser. If you do not have a corresponding account, please register your private account to complete the subsequent operation steps. (3-day free trial)
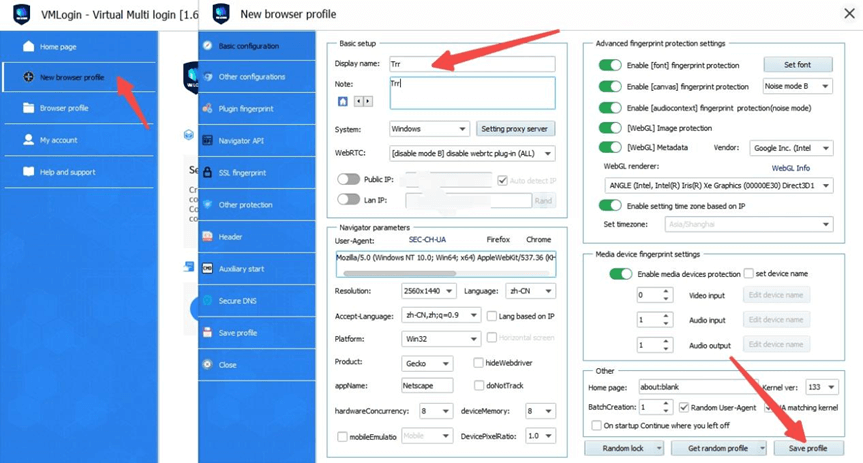
5. Enter the main page and click [Create browser profile]. Enter your [Display name] and [Note] in [Basic configuration]. This information can be entered at will, or you can add notes according to the nature of your business, and finally click [Save profile].
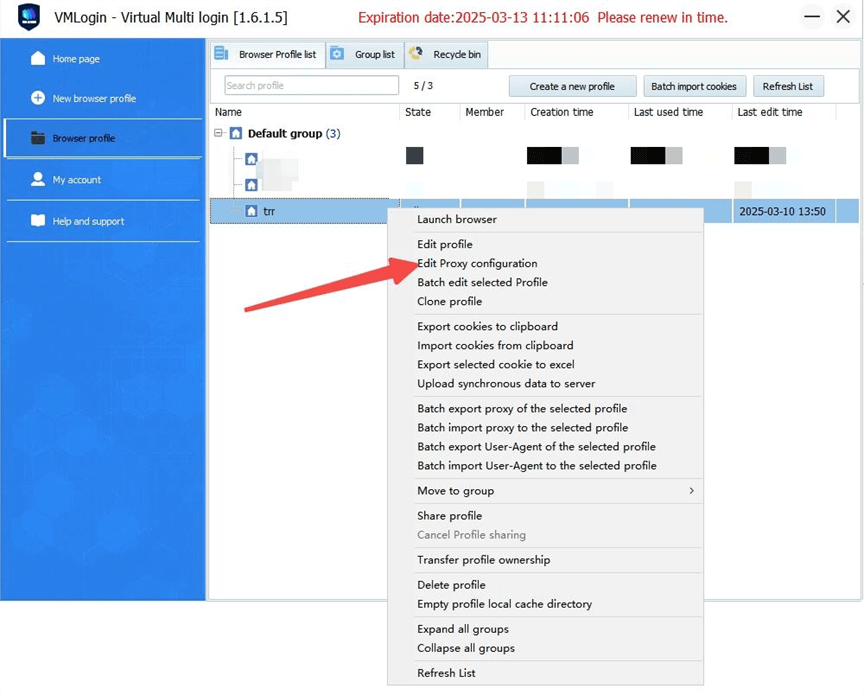
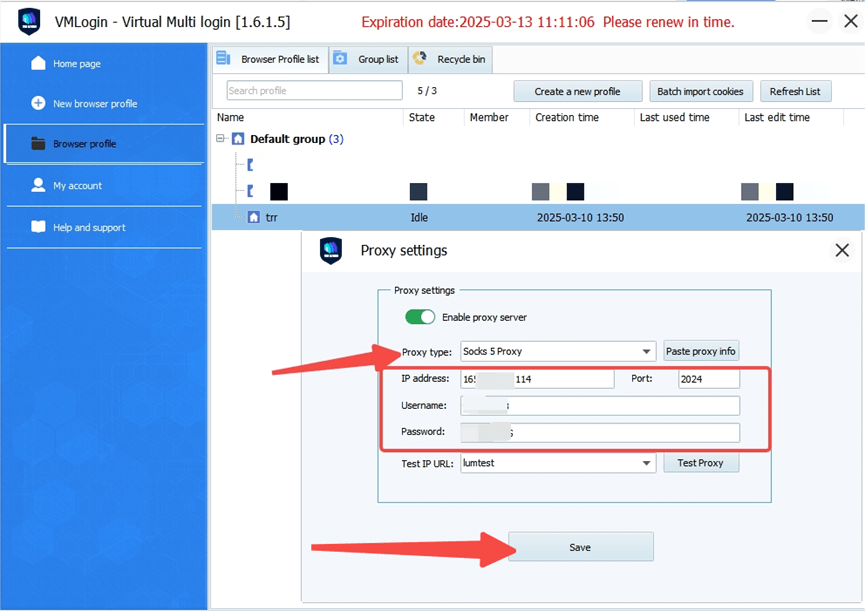
6. In [Browser profile], find the profile information you just created, click [Edit Proxy Configuration], and paste the IP information you copied in the Cliproxy backend into [Proxy Settings] in turn; finally click [Test Proxy].
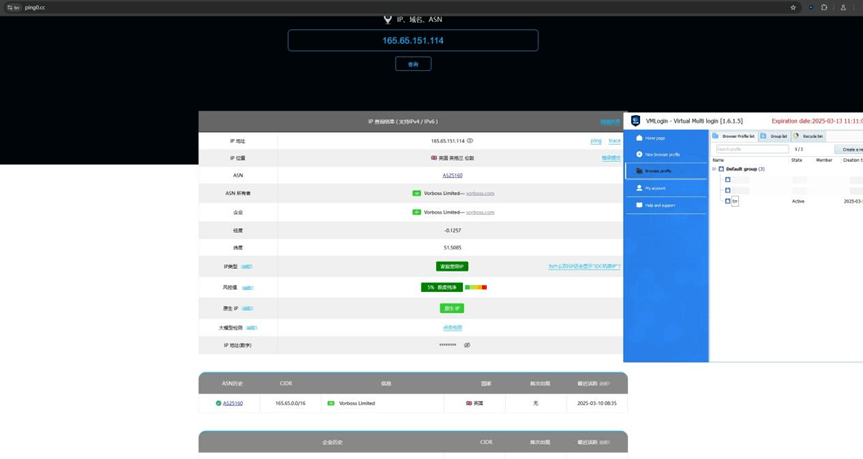
7. Go back to the main page and select the [Browser profile] to select the profile you just set up the proxy for. Right-click and select [Launch browser].

8. You can see that the location has been changed successfully. You can use this IP to conduct your overseas business, and the quality of this IP is [Home Broadband + Extremely Pure + Native IP].
Note: VMLogin browser has no proxy IP service, users need to purchase proxy IP from a third party. Proxy-related tutorials are provided by third-party platforms and unrelated to the VMLogin. Users are strictly prohibited from using VMLogin to engage in any illegal and criminal activities, and users are responsible for the relevant responsibilities caused by using VMLogin.