Step 1: Get Proxy From Ping Proxies
Log into your Ping Proxies account, purchase ISP proxies and then enter the information sent in your order to VMLogin. Your order and proxy details will also be available via your dashboard.
Step 2: Download the Browser (Support Free Trial)
Head to the VMLogin and download the browser for PC. Once downloaded, install the software on the PC and launch it.
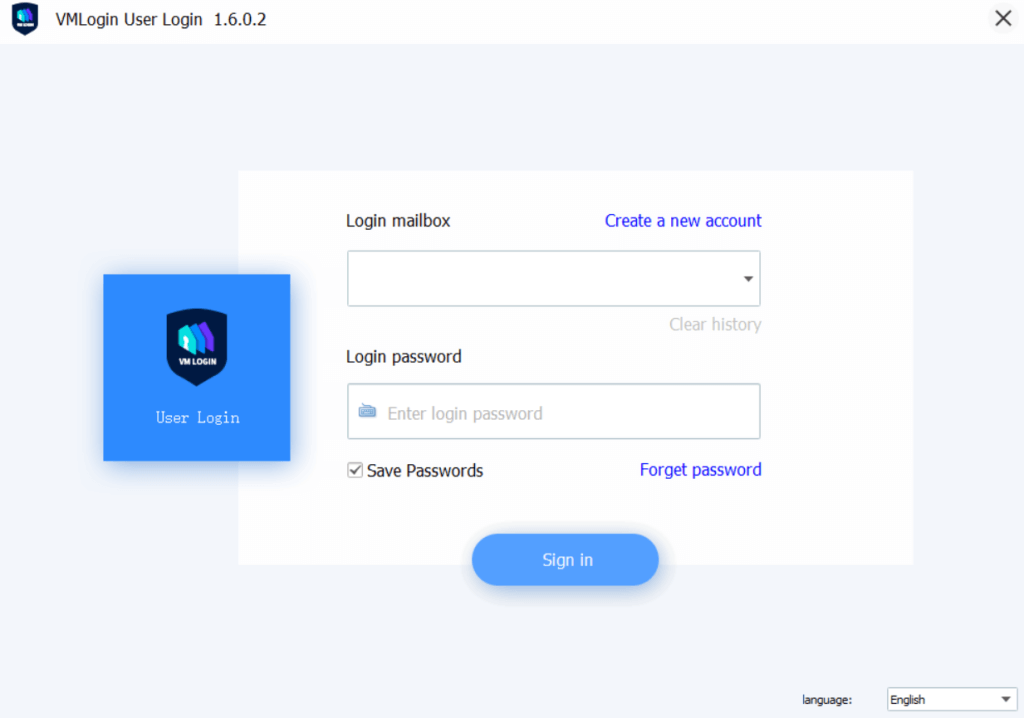
Step 3: Create an Account
After launching the browser on the PC, sign up for an account by clicking the “Create a new account” button. Then, enter the email address and create a strong password. Afterward, log into the registered account.
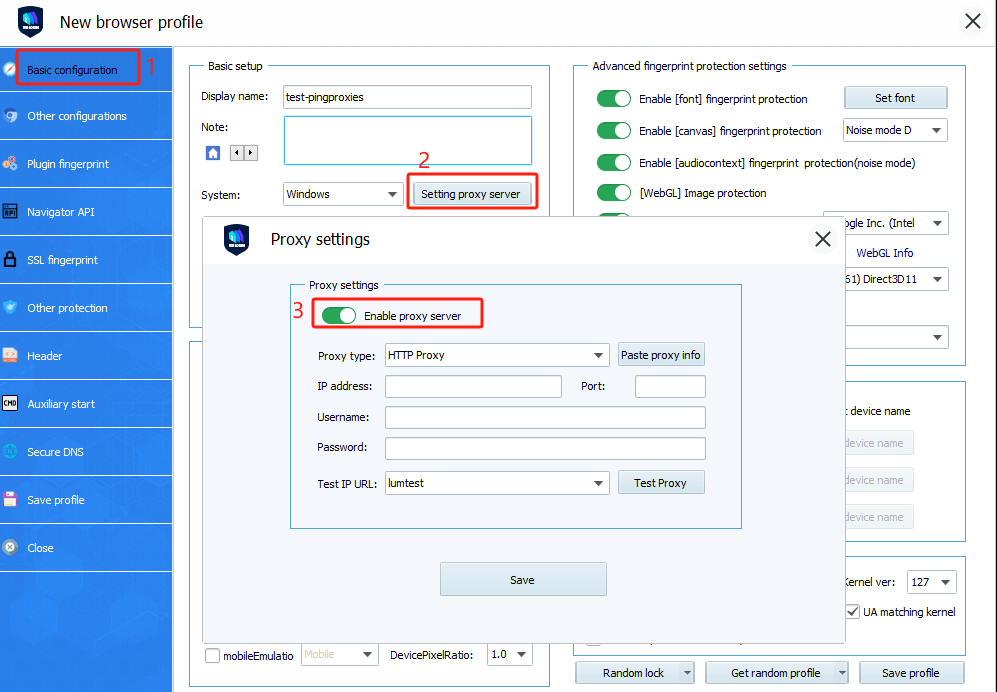
Step 4: Create a Browser Profile
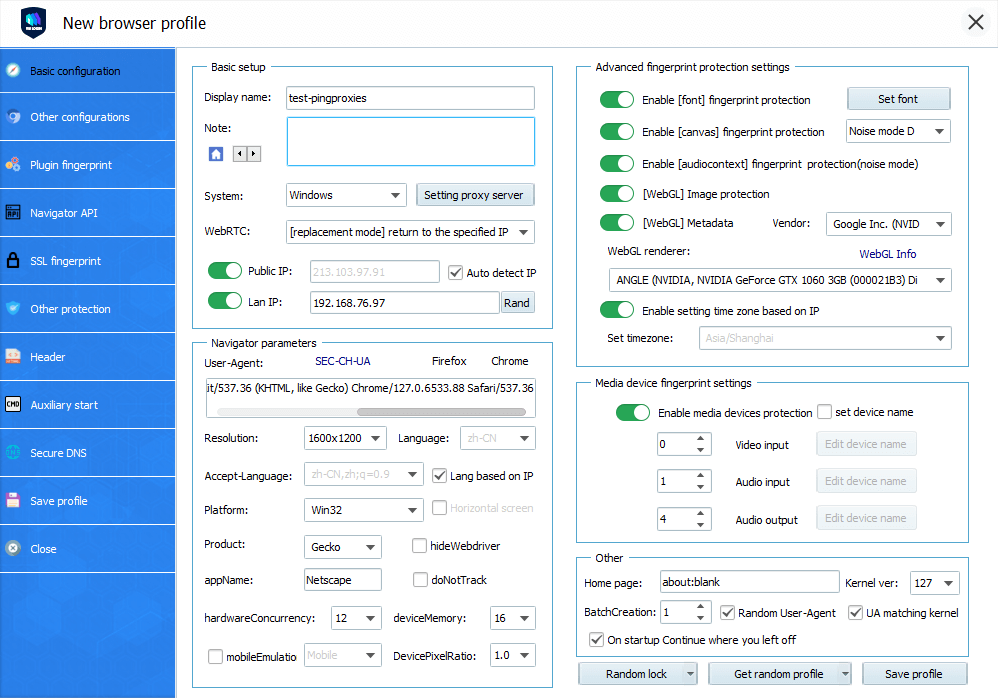
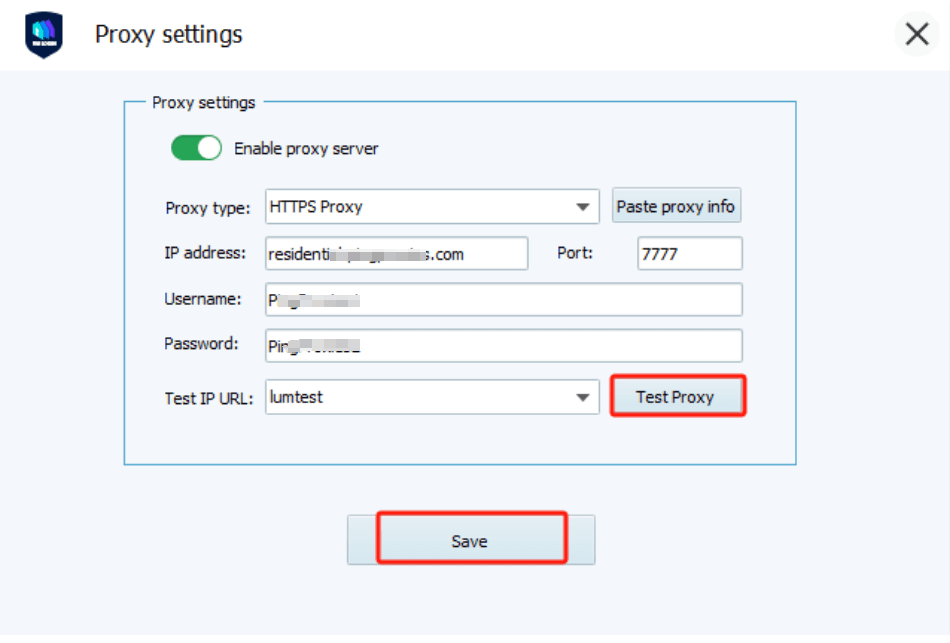
Next, click on the “New browser profile” menu to create a new profile. Under the “Display name” box, give the profile a name. Select the “Setting proxy server” button; this will bring up a pop-up page to enter a Static Residential ISP proxy from Ping Proxies.
Step 5: Align fingerprints
Adjust VMLogin's fingerprint settings to match the proxy's geolocation. Modify timezone, language preferences, and WebGL parameters as needed.
Step 5: Test Proxy
Users can check if the proxy is valid by clicking on the “Test Proxy” button. If the user entered the correct details provided by Ping Proxies, VMLogin should bring up a pop-up page showing the country, city, region, zip code, and other proxy information. This means it worked, and they are ready to safely browse the internet.
Note: VMLogin software has no proxy IP service, users need to purchase proxy IP from a third party. Proxy-related tutorials are provided by third-party platforms and are not related to the VMLogin. Users are strictly prohibited from using VMLogin to engage in any illegal and criminal activities, and users are responsible for the relevant responsibilities caused by using VMLogin.